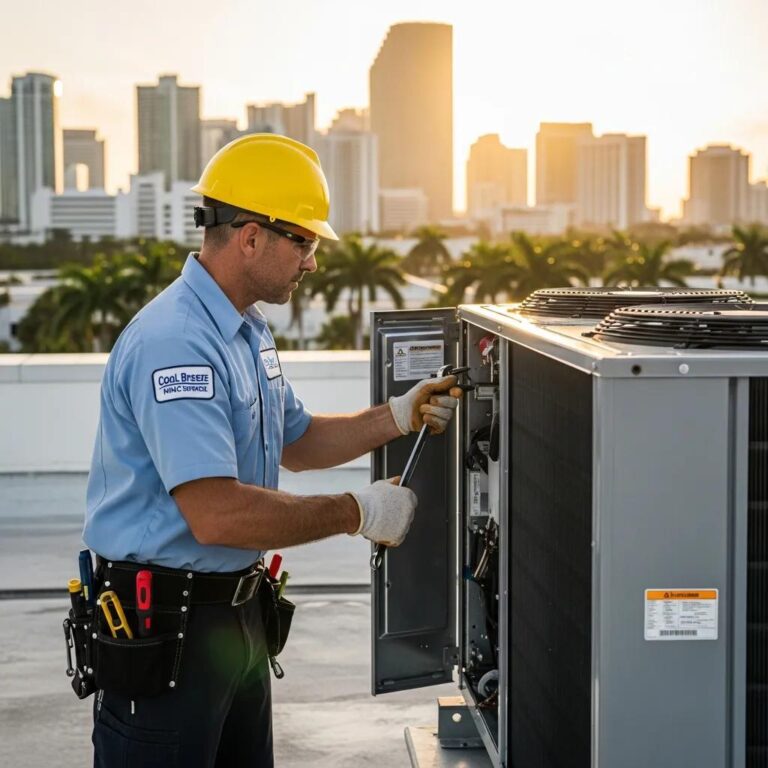
When central air conditioning service fails during a heat spell, it may take days before an HVAC repair technician or ac contractor will show up. And you’ll be paying at least $300 for the parts and labor of said repairs–if there are no other issues with your system. But if you’re comfortable working around electricity and willing to spend about $50 on parts, then repairing your air conditioner is doable and cost-effective–saving yourself about $225 in markup from the part supplier and labor costs from their technicians.
These Air Conditioner repairs will help you with the most common “low cooling” and “no cooling” problems. You will need an inexpensive multimeter, a voltage sniffer, an assortment of insulated screwdrivers, and a socket set. If these AC repairs don’t work out for some reason, at least you’ve covered the most common failures – your service guy can then concentrate on more elusive ones instead! Plus, once done with all this work, you’ll have added years to your air conditioning’s lifespan! Here’s how:
Why Isn’t Your Air Conditioner Cooling the House?
If the problem is not in your furnace, but instead, your air conditioner isn’t working, try turning on the Air Conditioner mode and setting a lower temperature. If hearing the furnace fan run starts up again, there’s something wrong with it. If this doesn’t work, you might want to check if there is a power outage, or resetting the circuit breaker will help fix things. The next step would be checking the outside condensing unit – the compressor should be running along with the cooling fan (it sounds like a refrigerator). If they are both off, following the troubleshooting and repairing procedures shown here should do the trick!
Be Sure To Turn Off The Power
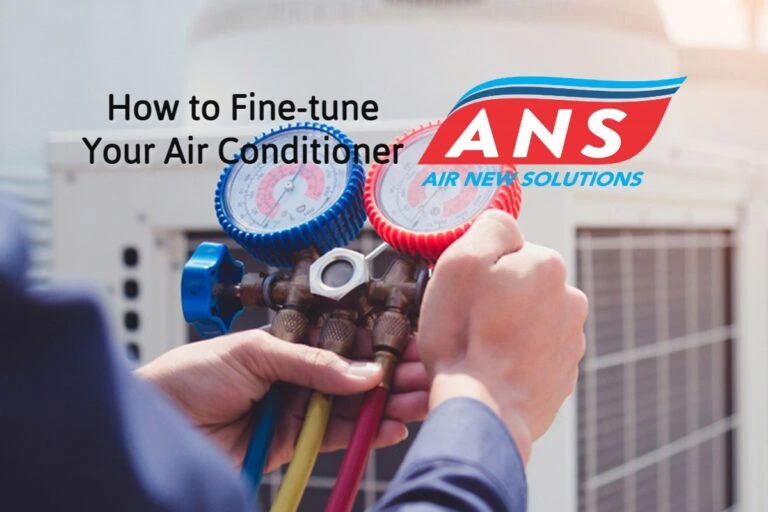
If you are pulling the outdoor disconnect or removing the condensing unit’s access panel, turn off your Air Conditioner breakers in your main electrical panel first. Once these are turned off, use a voltage tester on the wires coming into the contactor to make sure that they have been switched off.
Buy Parts To Fix Your Air Conditioner
The most common parts that fail in air conditioning systems are the AC contactor and start/run capacitor. They are inexpensive, so it is safe to buy and install them right away if your system is older than five years old. The condenser fan motor can also stop working but will be more expensive- hold off buying one unless you know this is what caused your issue. To replace these parts, take a look at the nameplate on your condensing unit (not inside of an attic or basement). Buy replacement parts from an appliance store, furnace dealer, or online. Write down any identifying information like make, model, and serial number (or take a photo).
- Step #1 – Learn What’s Inside Your Central Home Air Conditioner Unit: The central home air conditioner service system consists of two major components: a condensing unit outside your house and the evaporator coil or A-coil that stays inside (often referred to as an A-coil). The refrigerant in the A-coil picks up heat from your house and moves it to the outdoor condensing unit, where the Air Conditioner contactor, start/run capacitor(s), and fan will be replaced by DIYers. Heat is removed from this component by blowing outside air through its coils with a compressor housing so that only a pro can replace those parts. The only thing you can do for about any part of an A-coils is call someone who knows what they are doing!
- Step #2 – Turn Off the Power: To disconnect the power to your condensing unit, open the electrical box and pull the disconnect block straight out. Once you’ve done this, use a voltage sniffer to ensure that there is no electricity running through the wires inside it.
- Step #3 – Spray Off the Condenser Coils: Aim your garden nozzle up into the top of the condenser coil to remove any dirt and crud build-up under it. Work all around, then aim downwards towards the fins and flush out what’s left with a gentle stream of water. After that, adjust your nozzle to a gentler setting but not too weak for shooting straight down inside the coils for anything else lurking in there.
- Step #4 – Check Your Fuses: When you’re doing repairs on your appliance, check the cartridge fuses. If they are blown and need replacing, it’s not just a matter of changing them out. You’ll also want to replace any failing parts inside the condensing unit that caused the fuse to blow for things to be running smoothly again. And if it blows again after those changes have been made? Then call a professional because there are probably more serious issues at play here that only an expert can handle!
- Step #5 – Examine the Access Panel: Follow the electrical conduit from your house to find where you can access the panel. When it is off, remove and store the screws holding on this panel. Once you’ve done so, check for rodent nests or chewed wires inside it before making any repairs. If there are broken wires or insulation and if you feel comfortable handling these types of repairs, discharge first before repairing them with a wire stripper.
- Step #6 – Replace the Start capacitors: Capacitors eventually lose their charge, and most air conditioning units have a sensor that registers a low capacitor charge and sends a signal to your air conditioner’s control board to shut down the unit when the capacitor has no charge left. You can see if your air conditioner has a capacitor if it has one or more large black or grey electrical wires coming from it toward the control board.
Capacitors are designed to last about 15 years. If your unit is older than that, the capacitor is likely near the end of its life span. You can test a capacitor with an ohmmeter to see if it has lost any of its ratings, which should be between 150 and 200 ohms. A reading significantly lower than that indicates a failing capacitor. - Step #7 – Replace the Air Conditioner Contactor: This $25 mechanical relay switches on a high-amperage current to the compressor and condenser fan. The Air Conditioner contactor can wear out, so it’s at the top of the list of common air conditioning service failures. Even if your Air Conditioner contactor is working properly, it pays to replace them every five years! Unscrewing an old unit before removing wires from its terminals will help you move those wires over to a new one.
- Step #8 – Test Your Repairs: Replace the access panel, disconnect the block, turn on the circuit breaker, furnace switch, and thermostat, and wait for the Air Conditioner to start. The compressor should run, and if it does not spin, you might need a new fan motor.
Shut off the power, remove the screws around the condenser cover, and lift it to take out the fan blade and motor. Replace the blade and reattach the cover, powering the unit back up again. If you can’t get your compressor’s fan spinning again after following these steps, it’s time to call in a professional.
Even the more complex settings are still relatively easy to program, but your installation team is never far away if you have questions.
Hopefully, you gained some valuable knowledge from this post. If you have any further questions or would like to have one of our technicians come out and give you a free quote, please feel free to contact us at (305) 967-4684.